When it comes to improving personal cleanliness and relaxation in the bathroom, nothing beats a bidet seat. But bidet seats can leak like any other plumbing device from time to time. Preventing water damage and preserving continuous functionality can be achieved by swiftly addressing a leaky bidet seat. can help you with any plumbing problem as they have extensive knowledge. Identifying the source of the leak and fixing the bidet seat are both covered in this seven-step guide.
Step 1: Identify the Source of the Leak
Finding the source of the leak is the first step in fixing a bidet seat that is leaking. A variety of sources can cause leaks, including:
- Make sure the bidet seat and the toilet water supply valve are both securely connected to the water supply hose.
- To find out if the bidet seat unit is leaking, look for fractures or broken parts.
- The plumbing connections within the bidet seat or toilet can be a potential source of leaks.
Step 2: Turn Off the Water Supply
It is essential to disconnect the water supply to the bidet seat before making any repairs. To cut off the water supply, find the valve that is close to the toilet and turn it clockwise. Doing so stops the water from leaking further and makes cleaning the bidet seat risk-free.
Step 3: Check and Tighten Connections
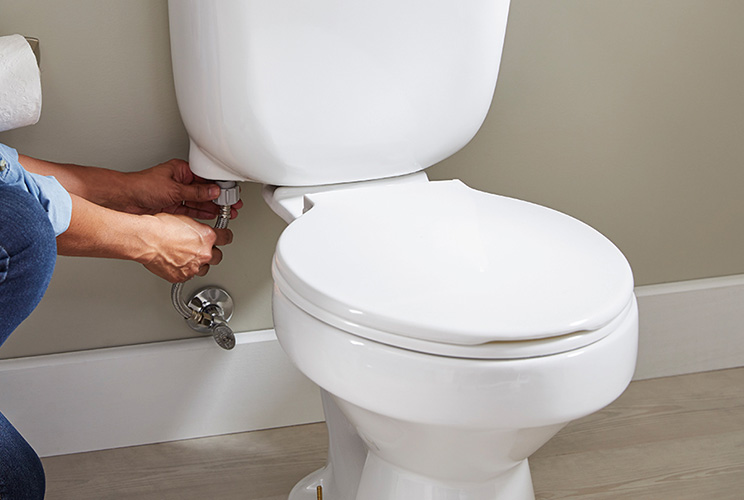
After you’ve switched off the water, check the connections on the water supply hose. Ensure that the bidet seat and the water supply valve of the toilet are both firmly attached. Loose connections can be delicately tightened with a wrench. Avoid damaging the threads or seals by not over-tightening.
Step 4: Check the Parts of the Bidet Seat
Check the bidet seat thoroughly for obvious signs of wear and tear, such as cracks or damaged seals. Deteriorated seals or broken plastic components are occasionally the source of leaks. If you see any broken parts, look in the bidet seat’s instructions for how to replace them or get in touch with customer service for help.
Step 5: Fix Any Broken Seals Or Components
You might have to get new seals or parts for the bidet seat if you see any wear or damage. You can get new parts for most bidet seats, and they’re straightforward to install using only a few common tools. For correct installation and future leak prevention, always refer to the manufacturer’s instructions before replacing components or seals.
Step 6: Test for Leaks
Reconnect the water supply and check the bidet seat and connections for leakage once you’ve made any required repairs or replacements. It’s recommended to do a test cycle to check for leaks and make sure the bidet seat is allowing water to flow correctly. Verify that all connections are firmly tightened in the event that you detect any leaks.
Step7: Keep Up with Maintenance and Inspections
Incorporate routine maintenance into your bathroom routine to prevent future leaks and preserve the best functionality of your bidet seat. Make sure the water supply is connected properly and examine the bidet seat for damage or wear on a regular basis. To prevent bigger problems in the future, fix any problems as soon as possible.
Fixing a bidet seat that is leaking doesn’t need a lot of troubleshooting. Most frequent bidet seat leaks may be easily managed and resolved by following these seven steps. Please refer to the user manual of your bidet seat for detailed instructions and, if necessary, seek the assistance of a professional like. If you take good care of your bidet seat, it will last for many years and give you lots of relaxation.
