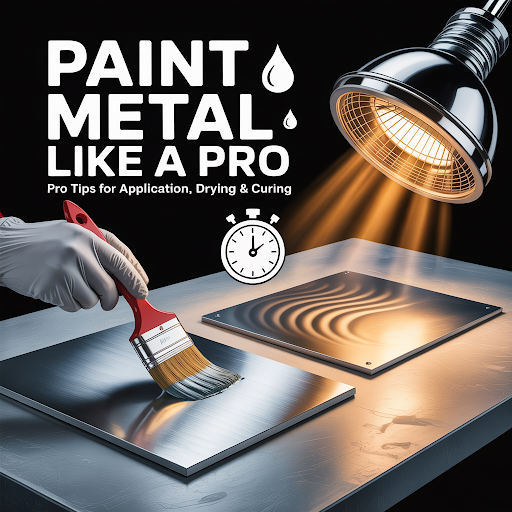
Painting metal may seem straightforward, but doing it right requires more than just a brush and a can of paint. Whether you’re protecting structural steel, upgrading industrial machinery, or giving a decorative finish to household items, the results depend on technique, preparation, and knowing how to handle coating drying and curing like a pro.
In this guide, we’ll break down how to paint metal effectively from start to finish. We’ll walk you through prep, applying metal paint, and best practices for drying and curing.
Why Painting Metal is Different
Unlike wood or drywall, metal surfaces are non-porous and prone to oxidation, meaning they can rust if not treated properly. That’s why metal painting requires specific preparation steps, primers, and curing conditions to achieve long-lasting results.
Whether you’re coating aluminum, steel, iron, or galvanized metal, the goal is to create a smooth, durable barrier that resists wear, corrosion, and weather.
Step 1: Surface Prep – The Foundation of Success
If you skip surface preparation, your paint may chip, peel, or fail altogether. Here’s how to prep metal like a pro:
- Clean the Surface — Remove dirt, oil, rust, or old paint. Use degreasers, solvents, or industrial cleaners depending on the surface.
- Remove Rust and Oxidation — Sandblasting, wire brushing, or grinding may be required for heavily rusted areas. Light rust can be treated with rust converters.
- Smooth It Out — Sand the metal with medium or fine-grit sandpaper to create a surface profile that the paint can grip.
- Use a Suitable Primer — Choose a metal-specific primer (e.g., epoxy, zinc-rich, or etching primer) that improves paint adhesion and adds corrosion resistance.
- Let the Primer Cure Properly — Follow the manufacturer’s guidelines for curing before moving on to painting.
Step 2: Applying Metal Paint the Right Way
Once your surface is prepped and primed, it’s time to apply your coating. According to Applying Metal Paint, choosing the right paint and application method is essential for performance and appearance.
Recommended Paint Types for Metal:
- Epoxy Paint – Strong adhesion and chemical resistance
- Acrylic Enamel – Durable with a glossy finish
- Urethane Coatings – UV-resistant, used in automotive and marine applications
- Powder Coating – Electrostatic application, cured with heat for industrial-grade protection
Application Methods:
- Spraying – Great for even, professional finishes; requires masking and ventilation
- Brushing or Rolling – Ideal for small projects or touch-ups
- Dipping – Suitable for high-volume industrial parts
Apply in thin, even coats. Multiple thin layers are better than one thick one. Allow each coat to dry before adding the next.
Step 3: Mastering Coating Drying and Curing
Now comes one of the most misunderstood parts of painting: coating drying and curing. Drying refers to the surface becoming tack-free, while curing is the process where the paint reaches full hardness and chemical resistance.
According to Coatingsdirectory’s expert guide on Tips for Paint Drying and Curing, here are some key insights:
Drying vs Curing – Know the Difference
- Drying: Happens within minutes to hours; the paint looks dry but is still soft underneath.
- Curing: Can take several days; chemical reactions finalize and the paint becomes fully durable.
Tips for Faster and Better Results:
- Temperature Matters: Ideal drying temperatures are between 65–85°F (18–29°C). Too cold, and paint won’t cure. Too hot, and it may dry unevenly.
- Control Humidity: High humidity slows down both drying and curing. Use dehumidifiers if needed.
- Ventilation is Key: Proper airflow helps remove solvents and moisture, allowing the coating to dry evenly.
- Use Curing Accelerators: Industrial coatings often include hardeners or catalysts to speed up curing.
- Infrared and Heat Lamps: These are used in manufacturing to cure coatings quickly and evenly.
Pro Tip: Don’t rush curing by stacking parts or exposing the painted surface to stress too soon. Wait for full cure times as recommended by the manufacturer.
Common Mistakes to Avoid
Even experienced professionals can make errors. Here are some common pitfalls and how to avoid them:
- Skipping Primer: Reduces adhesion and can lead to early failure.
- Painting Over Dirty or Rusty Surfaces: Causes bubbling, flaking, or poor coverage.
- Applying Too Thick a Coat: Traps solvents inside and slows curing.
- Not Allowing Proper Dry Time Between Coats: Leads to wrinkling or soft finishes.
- Ignoring Temperature and Humidity Conditions: Compromises drying and final performance.
Choosing the Right Products and Suppliers
Now that you know how to paint metal like a pro, the next step is sourcing the right materials and equipment. That’s where Coatingsdirectory.com becomes your go-to resource.
Whether you’re looking for industrial-grade coatings, primers, application tools, or curing ovens, Coatingsdirectory connects you with global suppliers in the coatings industry.
Why Use Coatingsdirectory?
- Discover a wide range of metal paint products
- Filter suppliers by application type, material, or function
- Read expert blogs on topics like Applying Metal Paint and Tips for Paint Drying and Curing
- Connect with verified manufacturers and service providers
From large OEMs to local contractors, Coatingsdirectory helps professionals make smarter, faster buying decisions.
Final Thoughts
Painting metal isn’t just about making something look good—it’s about protection, durability, and doing it right the first time. With the right preparation, tools, and understanding of coating drying and curing, anyone can achieve a professional-grade finish.
Remember, every project is different. Always refer to your paint’s technical datasheet for specific instructions. And when in doubt, turn to trusted sources like Coatingsdirectory for guidance and product sourcing.
